Here is how to blow dry mens hair in about five minutes. Towel it until it stops dripping, then rough-dry it on medium heat with your fingers until it is most of the way there. Only then clip the nozzle on and do the real work: point the air from the root down towards the ends, in the direction you want the hair to finish, with a comb for a smart look or your fingers for a loose one. Ten seconds of cold air sets it. The direction is the part that changes from one style to the next, and that is the part most guides skip.
How to Blow Dry Men's Hair, Style by Style
How to blow dry mens hair for a side parting, slick back, quiff, crop or curls: which way to point the air, which tool to hold, and when to skip the dryer.
7 min readGolden Scissors, Maida Vale, London
Does your haircut even need a dryer?
Plenty of men own a dryer they do not need. Some of them need one and have never plugged it in.
If you have under about an inch on top (a buzz cut, a crew cut, a short textured crop) put the dryer away. Towel it, push it where it goes, and let it air dry. Heat has too little length to work on, and a pea of clay on dry hair does the rest.
Somewhere around two inches the answer flips. Anything with a parting, height at the front or a swept-back shape is set by how it dries. Leave it to air dry and it settles the way it grows, which is rarely the way you asked for in the chair. This is why the same cut looks great when you walk out of the shop and ordinary three days later. The barber dried it. You did not.
Curly hair is its own case, further down.
The kit, and the bit everyone throws away
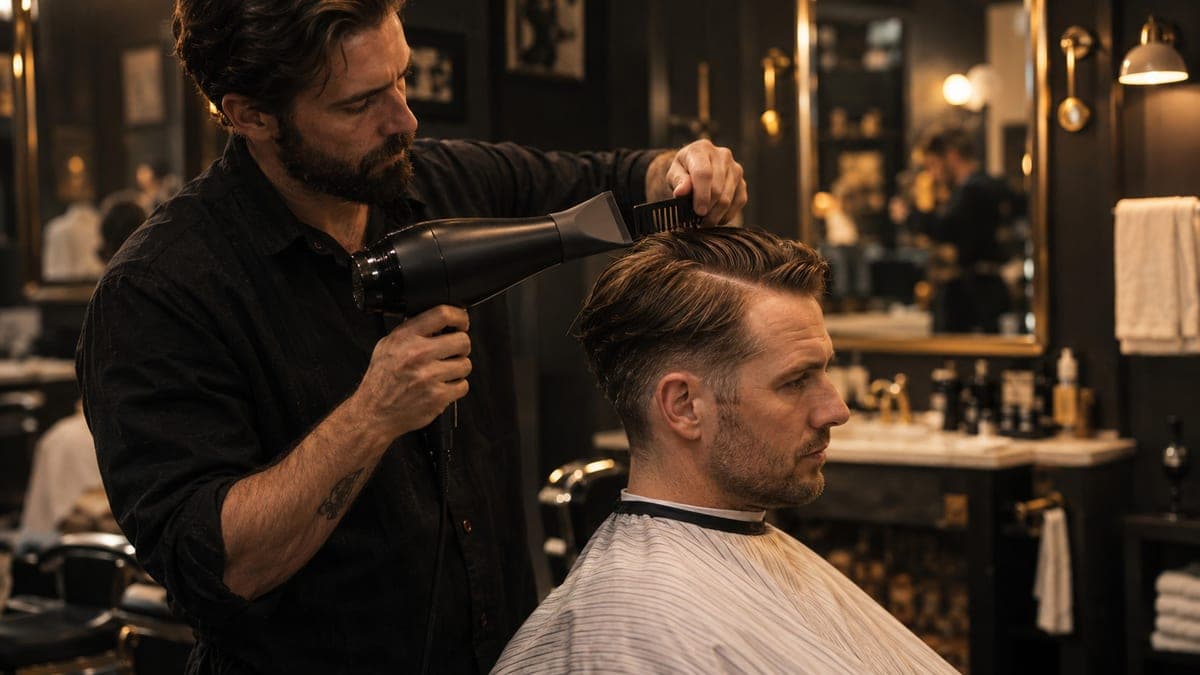
The flat slotted nozzle that comes in the box with your dryer is the most useful thing in it, and it is usually in a drawer or the bin. It squeezes the air into a narrow strip so you can aim it at one section of hair instead of blasting your whole head about. Without it you can dry hair. With it you can style hair.
Alongside the dryer you want one of these, depending on the finish:
| Tool | What it gives you | Use it for |
|---|---|---|
| Your fingers | Loose, textured, a bit undone | Crops, messy quiffs, anything matte |
| Wide-tooth comb | Clean lines, a sharp parting | Side partings, slick backs |
| Vented brush | Smooth and fast on longer hair | Hair past about four inches |
| Round brush | Height and a curve at the front | Pompadours, big quiffs |
| Diffuser | Curls dried without being blown apart | Curly and coily hair |
Medium heat for all of it. The hottest setting dries the outside of each strand while the root underneath stays wet, so the shape looks done and then drops twenty minutes later.
How to blow dry mens hair, step by step
- Press with the towel, do not rub. Rubbing roughs up the hair and gives you frizz before you have started.
- Product goes in now if it is a pre-styler. Sea salt spray, mousse or a light cream goes into damp hair, because it needs the heat to set.
- Rough-dry with fingers, no nozzle, until the hair is about 80% dry and has stopped looking dark. Do not style during this bit. You are only taking the water out.
- Fit the nozzle. Work from the back forwards, crown first, front last. The front is what people see, so it gets the most control.
- Aim down the hair, root to tip. Air pointing down the strand lies it smooth. Air pointing up from the ends roughs it up and is how most frizz gets made at home.
- Set the direction at the root. Wherever the root dries pointing, the rest of the strand follows.
- Cold button, ten seconds, over the whole head. Then hands off for a minute while it cools.
- Finisher last, on dry hair. Clay, wax or pomade, a small amount, worked in from the back.
If you are drying for height, step 6 changes: you dry the root against the way it grows, not with it. That technique has its own page, the post on lifting hair that will not stand up, so we will not repeat it here.
Which way to point it, style by style
Here is the direction for each of the common shapes, and the mistake that usually undoes each one.
| Style | Which way to dry | Hold | What usually goes wrong |
|---|---|---|---|
| Side parting | Comb the parting in while damp, then dry the long side across and slightly back, the short side down | Comb | Drying before the parting is in, so it never sits where it was cut |
| Slick back | Straight back from the hairline, nozzle following the comb | Comb | Drying the top flat and leaving the sides puffed out over the ears |
| Quiff | Front section up and back, the rest back and slightly down | Fingers, or round brush for a bigger shape | Drying the whole head upwards, so the sides stand out too |
| Pompadour | Front rolled up and back over a round brush, highest at the hairline | Round brush | Not enough heat at the root, so it collapses by eleven |
| Textured or French crop | Forward, from the crown towards the forehead | Fingers | Using a comb, which makes a crop look like a schoolboy fringe |
| Middle parting / curtains | Each side away from the centre and slightly out | Fingers, then comb the parting | A crown that sits up because it was dried forward |
| Longer hair, collar length | Down and back, vented brush through the lengths | Vented brush | Air pointing up the hair, which is where the frizz comes from |
The pompadour is the most demanding of these by a distance. It does not exist without the dryer, which is why our pompadour guide spends a whole section on the morning routine.
One more thing on direction. Got a cowlick at the front or the crown? Dry it the wrong way first, then back the right way. Blowing it left, then right, then where you want it tires the root out enough to lie down. Fight it in one direction only and it wins.
Curly hair: diffuse it or leave it
Do not take a nozzle and a brush to curly hair unless you want it straight and frizzy. Blowing air hard across curls splits them apart, and you are left with a cloud rather than a curl.
If you want your curls, either let them air dry with a curl cream scrunched into wet hair, or fit the diffuser. Cup a section of hair in the diffuser, lift it towards the scalp, hold it on low heat for a few seconds and lower it. Repeat round the head. Do not touch it with your fingers until it is completely dry, because breaking a curl up while it is still damp is how it frizzes.
On a short curly top with tight sides you often do not need either. Cream, scrunch, leave it.
The week it takes to get right
The first few mornings will be slow and you will probably hate the result. Everybody does. You are learning to aim a dryer at a crown you can only see backwards in a mirror, which is a skill, and nobody gets it on day one.
Give it a week before you decide it does not work for your hair. By the end of it the whole job is usually five minutes, and most of that is the rough-dry.
If you would like to watch it done on your own hair first, book the wash and cut (£18, 40 minutes) rather than a dry haircut and ask whoever is cutting you to talk you through which way your hair wants to go. A booking means the slot is held for you. After that it is product, and clay, pomade and wax behave differently enough on blow-dried hair that the choice is worth a minute.
Common questions
- Is it bad to blow dry your hair every day?
- Not on medium heat with the dryer moving. Short hair is cut every few weeks, so the ends you are drying are young and any wear gets cut off before it shows. The damage comes from the hottest setting held close in one spot.
- Should I use hot or cold air?
- Warm to shape it, cold to finish. Hair holds whatever shape it is in as it cools, so the cold button at the end is what makes the style last past mid-morning.
- Do I need an expensive hairdryer?
- No. A basic dryer with two heat settings, a cold button and the narrow nozzle it came with does everything in this guide. The nozzle matters more than the motor.
Read next
How To
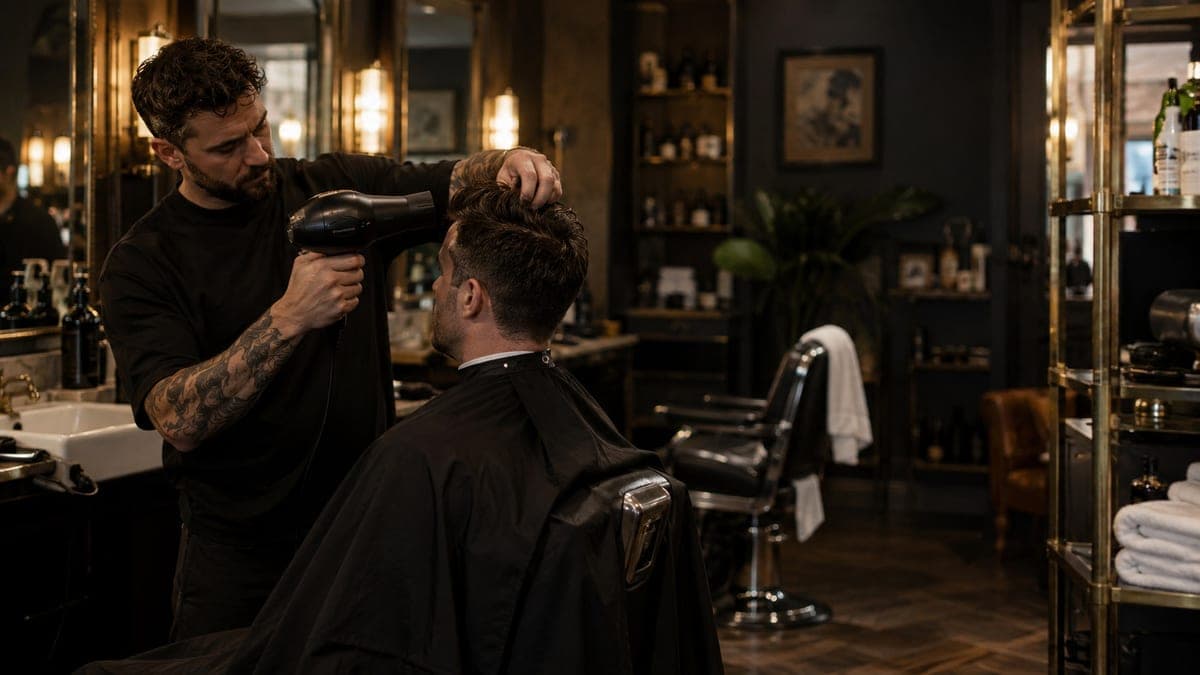
How to Get Volume in Mens Hair
Flat hair is usually the dry and the weight, not the product. A barber's guide to how to get volume in mens hair, and the cuts that hold it.
7 min
Style Guide
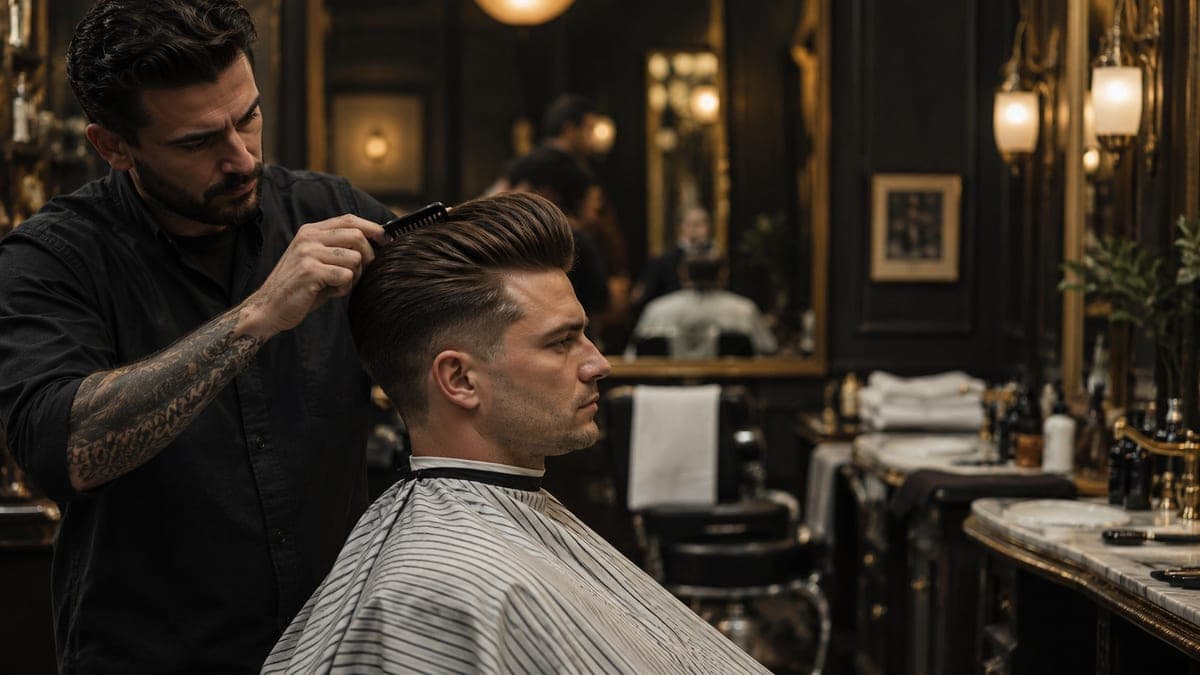
Pompadour Haircut: What It Takes
A pompadour haircut needs four inches at the front, short sides and a hairdryer every morning. What to ask for, who it suits and how to keep it standing.
6 min
Products
Clay vs Pomade vs Wax: Which Do You Need?
Clay vs pomade vs wax explained by barbers who see the results three weeks later: what each one does, which suits your cut, and how to wash it out.
5 min